Power Steering Pump Mount
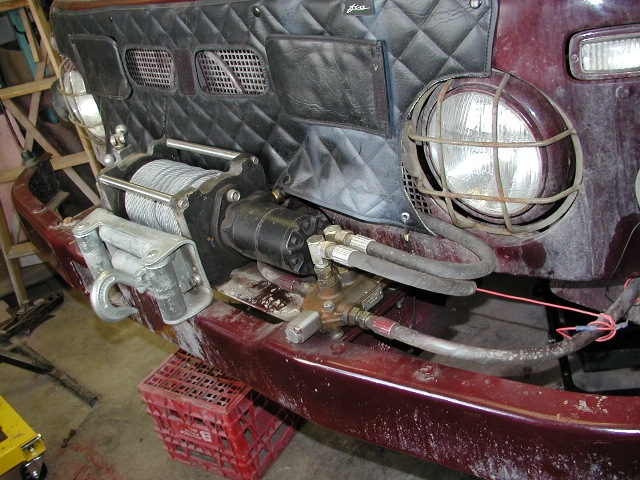
We have installed a 12,000 lb. Mile Marker hydraulic winch on our UNIMOG. We felt that if we only have one winch, it should be hydraulic. In an ideal world, we'd have an electric one too, so that we'd always be able to get out of a sticky situation!
To the right of the winch you can see the manual hydraulic valve. This was used so that we have fine control over the winch. The hope when we installed the winch was that the winch would be used more for trail clearing than for self recovery. Hah! We have self recovered several times with this setup - it works!!!
The Mile Marker is designed to work with a power steering pump. Since the 404 didn't come with one from the factory, we installed a used power steering pump from a Chev. The process of making a solid pump mount was not easy, documented here is the process involved in building our second mount. We doubt that this pump mount could fit in another engine compartment, the clearance to fit it in is millimeters in spots. However, if you're undertaking a project like this, our basic design could help you fabricate your own.

Shown here is our first attempt at a pump mount. It worked well for one season, but didn't allow the belt to be tightened enough to prevent slippage. The whole mount flexed too much, enough that one of the welds was cracked when we took it off. The pump pulley lined up with the generator belt, so we had simply put in a larger belt, incorporating all four pulleys.
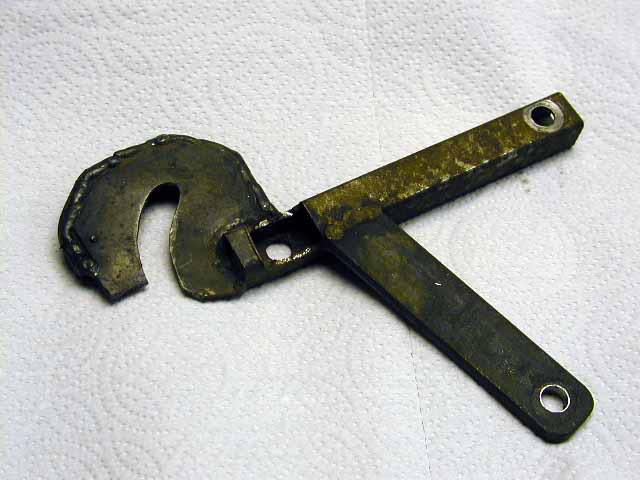
Note flange welded on the back side of the pump mounting/adjusting plate to prevent flexing. This mount was simple to fabricate and install, and was a good short-term solution until we could design something better.

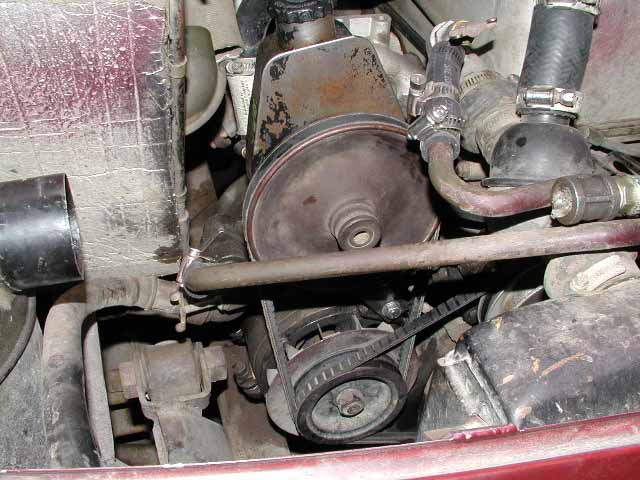
Here is the new mount installed. Three full days of work later. Note that the pump is now run off of the second pulley on the generator. The generator belt is tightened as normal, then the pump is mounted and tightened. The pulley on the pump clears the Swiss heater hoses by very little.

This picture shows the two lower mounting points. The front one is shared with the generator mount. We had to replace the bolt with a stud, as the bolt couldn't be threaded in to hold the pump mount once the generator belt was tight. The rear mount bolt is in line with the front mount so the mount can be rotated to tighten the belt. The bolt is in a custom built ear with a foot welded onto it which slips under the rear generator mounting strap.

Here is the completed mount on the pump prior to installation. The upper mounting bar is separate from the rest of the mount.

Rear view of mount and pump.
For detailed pictures of the pump mount, click here.

View from the top of slotted top support of pump to assist in belt tightening.

The bolt with several washers is the other end of the upper pump support. This 10 mm bolt threads into the head. Below can be seen the generator belt adjuster. To the left (center of picture) is the hydraulic hose from the pump.

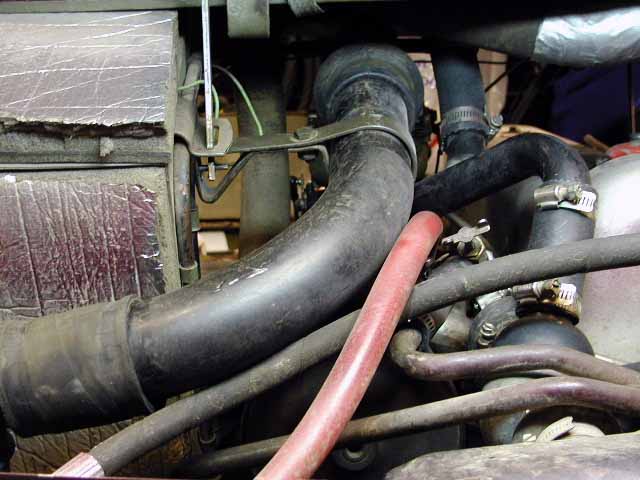
Here is the pump mounted & tightened. All that remains is to clamp & tie all hoses into place. The red hose is a piece of Ortac oil hose used for the low pressure return line.
Potential Issues:
- This mount puts more strain on the generator mount. We now
carry spare generator mounting bolts.
- This mount also puts more load on the generator belt, so it is
important to keep it tight.
- The mount is now part of the pump, if/when the pump needs to be
replaced, the mount will have to be cut off in order to be
installed on a new pump.
- Outlet of pump is very near the exhaust manifold.
Overheating of oil is a possibility.

Here is a picture of our UniMoG getting ready to extract another MOG from a puddle. As you can see, the stuck MOG is in fairly deep (that is mud, not just water). Our winch performed admirably, with a foot on the brakes to keep our MOG from following the first one into the puddle.