It All Started with the Windshield Seal...
Part 3 - Engine Replacement
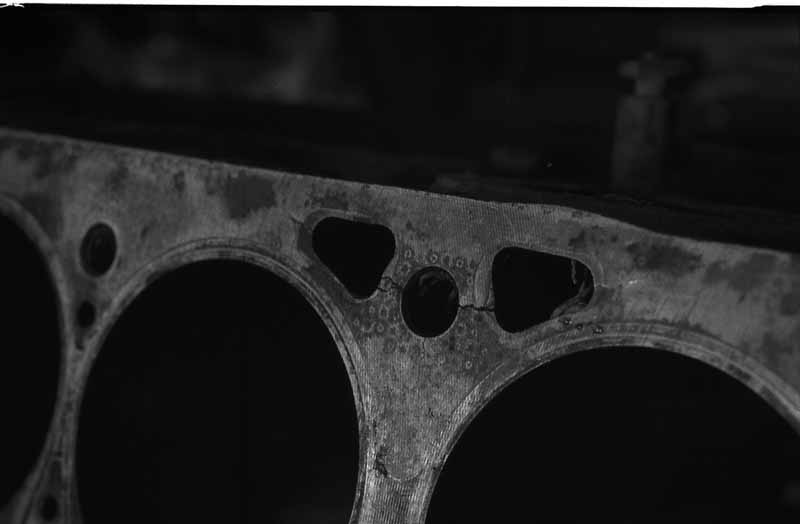
Here is a shot of our show stopper. We were one week away from our first camping trip of the season (only one week later than originally planned) and we were completely stopped.
We researched our engine options pretty carefully. Choosing to fit a non-Mercedes engine was never really on the list. Diesel was never on the list (allergies to diesel exhaust fumes). Our first preference was actually to go with an M130 engine, but we soon discovered that option to be cost prohibitive. Buying a crated M180 from Scott was by far the cheapest (and easiest!) option... one glitch... he was out of stock. His shipment of engines docked during the trucking strike, offering further delays. Then he got a return from a customer in Arkansas. The other customer wanted to keep a few bits, but they were bits we didn't really need anyway... so we said yes!
We asked Ken if he would be willing to let us borrow shop space from him to do the engine swap procedure. Our shop is only barely big enough to house the UniMoG, and it isn't big enough to use an engine hoist in the shop with the truck. Ken's shop is big enough to hold four UniMoGs! He and his truck were willing to help us get the engine transplant done in the shortest time possible. Since we had just done the cab removal & re-installation, we made these checklists to help us to remember all the details. Feel free to use our lists if you have to do this job yourself, but do note that there are things that are specific to our truck and do not apply to other 404's.
Once we had cleared the engine at customs, we towed our truck (with Ken's) over to Ken's and started disassembly while we waited for engine delivery.
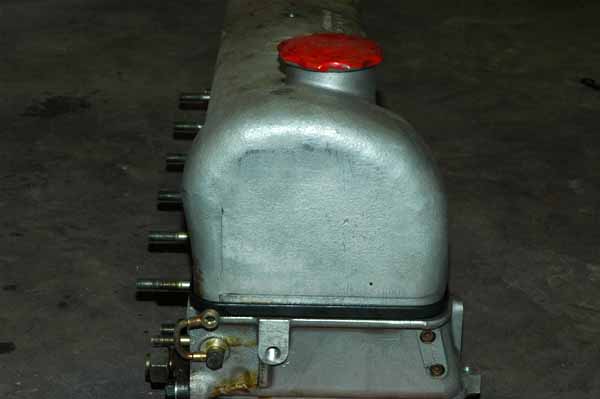

When the engine arrived, it was discovered to have an old style "short-reach" head - Scott had made every effort to make sure the correct engine was being shipped to us, but since it wasn't in his hands he didn't see that a short-reach head had been installed on a newer style block. The problem was solved with the long-reach head we had already had rebuilt. The swap also involved swapping the timing chain as the chain for the newer style head is two links longer.

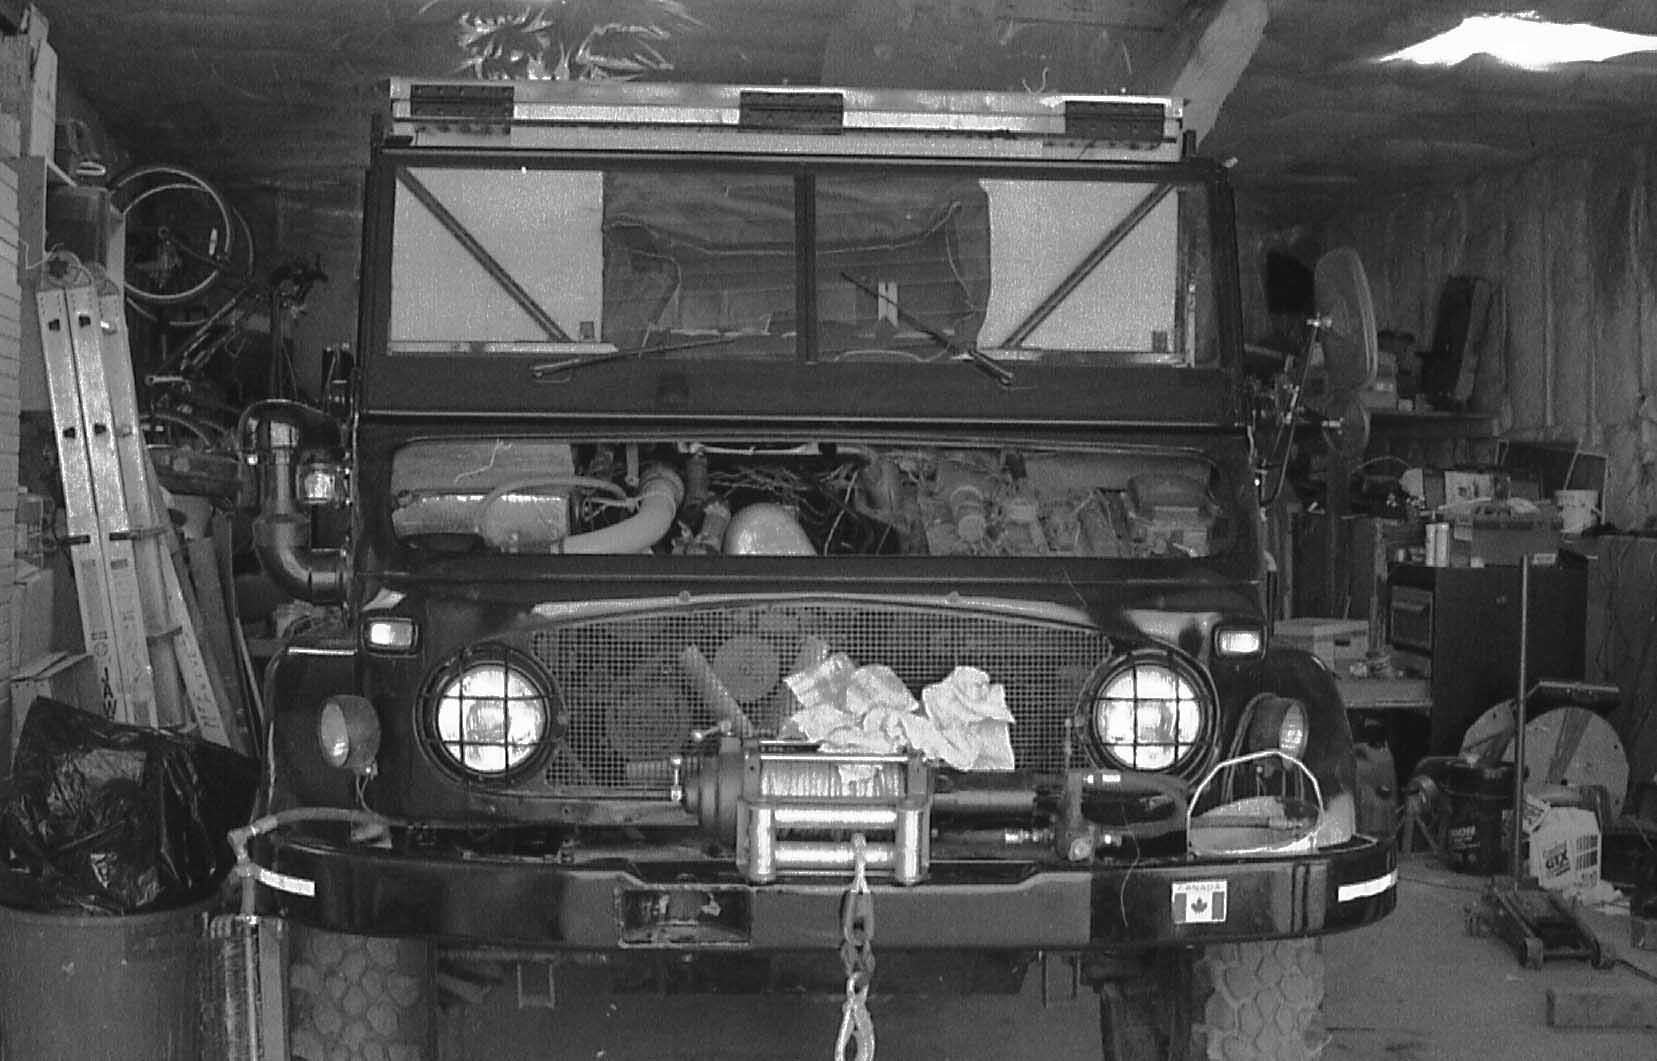
The first time we took the cab off, three of us lifted it no problem - the windshield had already been removed. This time we wanted to leave the windshield on in order to limit the chances of scratches to our new paint job. We also didn't want to take any extra time to do the engine swap. We modified Ken's engine hoist with a piece of square tubing for more lifting length and bolted the top half of the stand to the deck of his MOG in order to get the height needed to lift the cab from our truck. Once we had lifted the cab high enough to clear, we pushed the chassis out from under the cab and back into the shop. With Ken creeping along in 1st gear we placed the cab in the other bay of his shop out of the way. We have no pictures of this operation as we were both "walking" the cab to keep it from swinging about and becoming unbalanced. Dropping that thing in the alley with our new windshield glass in place was not part of our plan.


Once we had swapped out the timing chain and head, it was time to remove our broken block from the chassis (with Ken's engine hoist back in its normal configuration).
Reassembly of the truck from this point proceeded along at a good pace. The engine was delivered late on a Friday afternoon & we were able to start the truck for the first time with the new engine early on Monday afternoon. Once again we had reached the point of heating up the engine in order to do the hot torquing procedure which helps seat the head gasket. The engine ran well despite the fact that the exhaust was full of coolant from the previously cracked engine block.... the tailpipe definitely smoked & spluttered for a bit.
Re-torquing the hot head was a nerve wracking procedure, but it went off without a hitch. (Getting through that procedure without having anything break definitely called for a beer!) Once we had put together the last few bits and pieces of the truck we were able to drive it home that night. Seven months after we had pulled it into the shop to replace the windshield seal the truck was actually moving under its own steam again!
Return to Part I