It All Started with the Windshield Seal...
Part 2 - Head Rebuild

We had a crack in our exhaust manifold, and the new replacement manifold is insanely expensive. We decided to try welding the crack for the time being, we'll see how long it lasts. We welded as much of the crack as possible with the manifold still bolted to the head, then pulled it off to get the less accessible spots. The gasket was also leaking, so we have a new one to replace it with. With luck, these are our last exhaust leaks & we should stop backfiring!
Due to the high price of the 404 specific exhaust manifold for the M180 engine, we're exploring the possibilities of modifying things enough to fit the exhaust manifold from a sedan. Click here to go to a separate page with the many pictures of our "Exhaust Manifold Study".


Inspection of the ports with the manifold off revealed reasonable looking intake ports, and gooky exhaust ports. The exhaust ports on cylinders 1 through 5 looked reasonable, port number 6 looked absolutely disgusting! Looking in further showed oil running down the exhaust valves - yuck! So, the head had to come off to get the guides replaced... our two weeks to get the chassis ready for cab replacement just got extended! However, this should solve the slight smoking issue we had been having.


Removing the valve cover is so much easier with the cab off!!! We're looking forward to adjusting the valves before we put the cab back on. Should be the easiest adjustment yet.
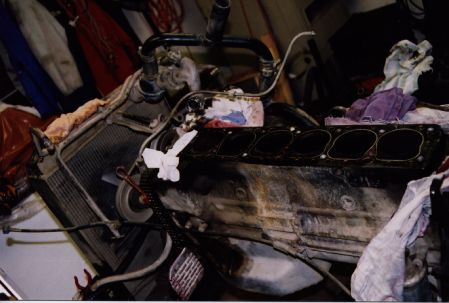

Headless engine and head on the bench.


Cylinders 6 and 5, number 5, numbers 5 and 4, and cylinder number 1. 5 and 6 were the goopiest. Number 1 was pretty dry. All of the gunk was very soft, it scraped off very easily and then we sucked it up with the shop vac.

Here's the underside of the head.


Combustion chambers 5 and 6, and 4 and 5. 6 was thoroughly black. The rest looked a lot more reasonable. When the machine shop cleaned up the head, they found water damage in 5 & 6. There were cracks in the water jacket between these two chambers. They've been welded & the surface planed (see below).

In the interest of spending as little money as possible at the machine shop, we wanted to disassemble the head as much as possible ourselves. At first we were a little stumped, we've never dealt with an overhead cam before! The spring compressor we had in the drawer definitely would NOT fit in there to do the job. Ken remembered having received (free tools are great!) a spring compressor he hadn't quite figured out how to use.... sure enough, it was for an engine with an overhead cam! Once we figured that out, it was a few hours work to get the valve train apart.
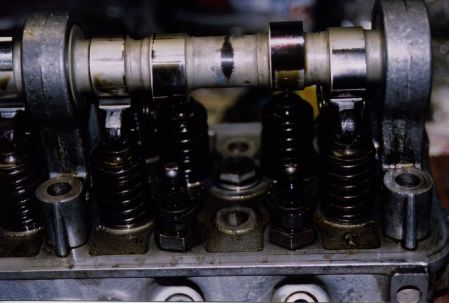
Here's a shot with two rockers off. We removed all the rockers, then proceeded to remove all the valves.

At this point, we weren't sure how much more would have to come off to replace valve guides (we didn't know yet that the head would need welding), so we chose to take it to the machine shop like this.

A nice little collection of valves.
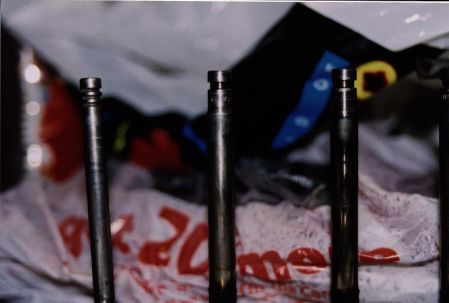
Can anyone identify what is different about the valve stem on the left?!

Shiny "new" head back from the machine shop.
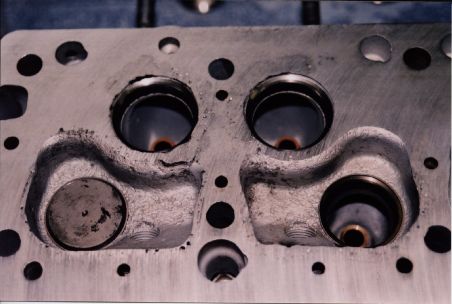

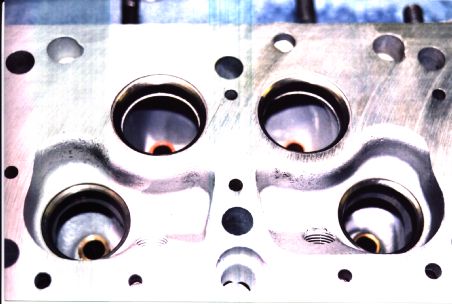
Closer shots of the cylinders in order. Note that cylinders 6 and 5 are badly pitted from water damage. Head was welded & surface ground.

Here is the top side of the head. The machine shop couldn't seem to locate new exhaust valve guides the right size, so they manufactured them themselves. (In retrospect, one of the MOG dealers could likely have gotten them for us & saved a lot of effort, but we didn't know the machine shop couldn't find them until we picked the head up with the work done.)
Valve stem seals were not available in Canada! MB in Toronto had 10 in stock (useful number...) the remaining two would have had to come on a slow boat from Germany.... so we ordered them from Scott. Once they arrived it was on to head assembly.....

We just can't resist the comparison shots with VW parts! Up until now, they are the only engines we've dealt with, so the contrast can be rather interesting.

Here's the "new" head, assembled and ready to go back on the truck.
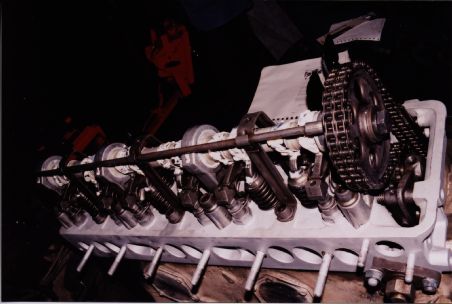
The head is back on the truck & ready to go!!! The valve adjustment was awfully easy with no cab parts to get in the way.
Return to Part I