Wheel Seal
The right rear wheel seal on the MOG had a slow leak from the time we got the truck. The leak easily kept from being a problem with frequent level checks. In the spring of 2003 it started to get worse, so we decided it was time to replace the seal.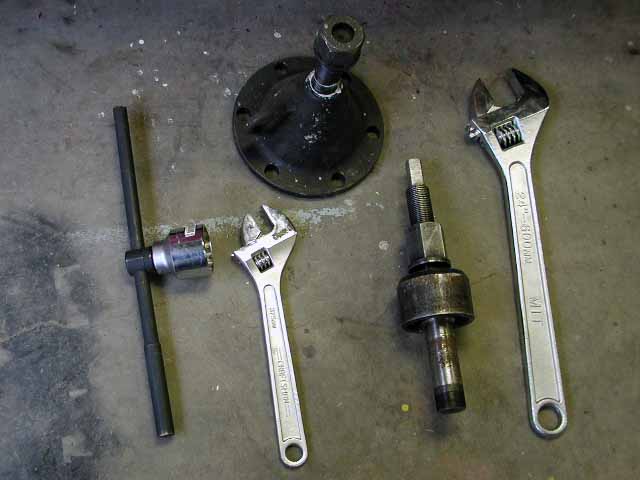
Here are the tools required to do the job. We thought we could do the job with regular pullers, but we broke three pullers without budging the hub, so had to track down the puller. After many difficulties, we finally got our hands on the hub puller (top) and reinstallation tool (second from right), thanks Scott!
Anyone within a reasonable shipping distance of Calgary who needs to change a wheel seal is welcome to contact us, we'd be happy to rent out our tools.
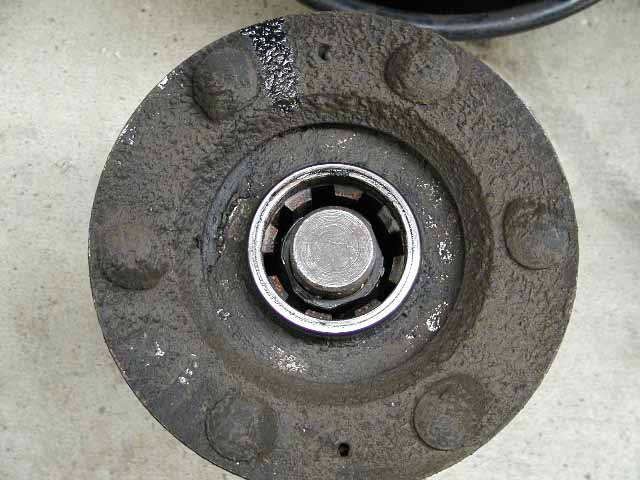
Getting the gland bolt undone is the first challenge. The torque spec. on that thing is 750 - 1000 ft-lb. It is important to remember to break the bolt loose before loosening the wheel or jacking up the truck. That is just too much force to apply without the tire firmly on the ground, supporting the truck. After bending down the tab on the lock plate, we used our 3/4" t-bar handle & socket with Sharon standing on a 4' snipe & Keith lifting on a 6' snipe to break it free. That Snap-On t-bar handle now has a slight curve. After breaking the bolt free we removed the wheel & drum, and removed the 55mm (2 3/16") bolt.

The puller bolts to the hub using the lug nuts. The same socket that fits the gland bolt fits the hub puller. It took rather a lot of force to crack the hub free.

Once the hub started to pull with the t-bar handle, we switched to the ratchet to make the job a little easier. With the fine threads on the puller, it took a long time to pull the hub off, but it came off well.
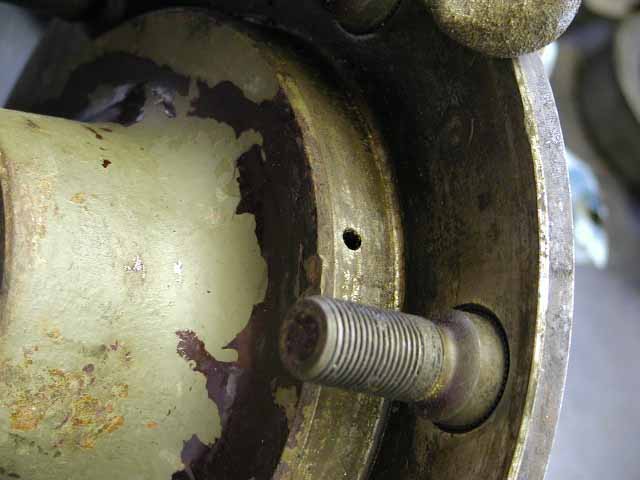
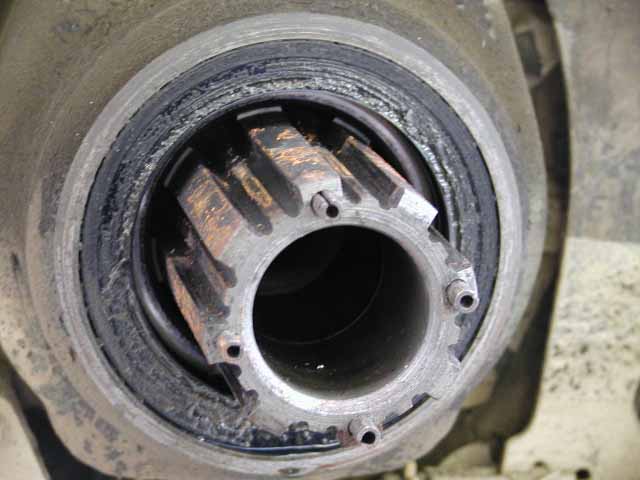
Yuck!!! That seal had been slowly leaking for a long time. Notice the inner end of the puller bolt still inside the hub. The bolt rotates within the end which sits in the end of the stub axle shaft. The four little flat spots allow you to leave the roll pins in place, if they choose not to pull out with the washer ring which sits under the lock plate, under the head of the gland bolt.

After a lot of cleaning, you can see the weep holes in the hub, from both inside and outside.
Here are a couple of views of the old seal, still in place.

Removing the old seal was relatively easy with the help of a small gear puller. In order to get the jaws on the inside of the seal, one arm was unbolted, both jaws were slipped into place, and the puller bolted back together.
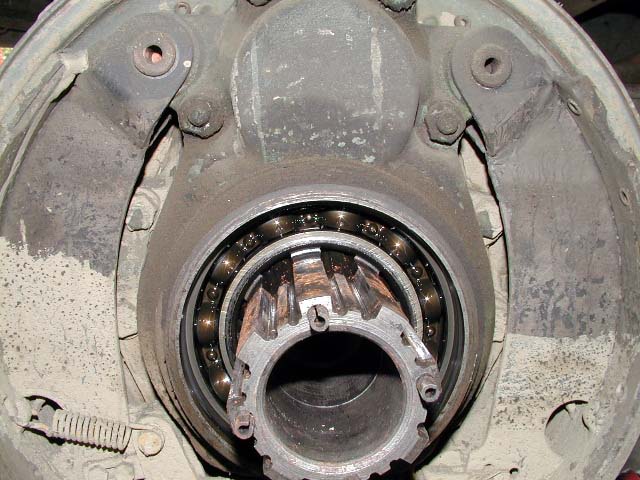
Underneath that seal is a rather large bearing.

One of the hardest things to find out in advance of pulling the seal, was what size it is. Now we know that it is 90x120x13mm. The thing we weren't able to find out until we had the seal out, is that it is a double lip seal. Not only does that seal try to keep the oil in, it tries to keep dirt & water out.
So, after gently tapping the new seal into place, we're ready for the reassembly.
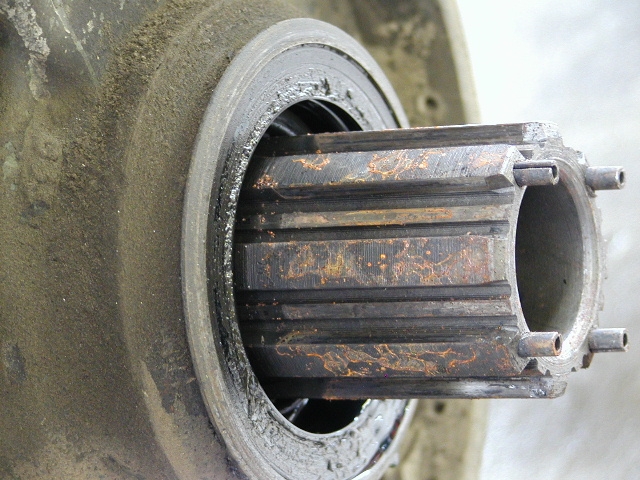
We carefully cleaned up the splines of the stub axle, and put on a little bit of Lubriplate to aid the reassembly process.

The bolt in the center of the reinstallation tool threads into the stub axle where the gland bolt goes, and is held with the smaller crescent wrench so that you know you're not going to damage those threads. This is where the 2' crescent wrench comes in, you can't use the socket on the big nut that pushes the hub back into place, although it is the same size.

It is a slow job to get that hub pushed back on, a lot of force is required on that big wrench. The reinstallation tool is designed so that when the hub is in place, there is about 1/2mm of clearance between the end of the roll pins & the pushing surface, just enough!

Here is the hub back in place, no more oil leak! Our 3/4" torque wrench doesn't go high enough for the gland bolt, so we did it as far as we could go with that, then went a bit further, that thing isn't going anywhere.
Our luck with locking plates isn't very good, the little tab on the inside that holds it in place broke off of the old one, and promptly broke off of the new one too. So, our locking plate is held to the big washer on the end of the stub axle with a small weld bead.
After breaking three pullers and then finally managing to buy the appropriate tools, the job only took something like 2 1/2 or 3 hours! That made the heavy, expensive tools worth every penny.